Renovating a kitchen is a big project, but painting the cabinets is a budget-friendly way to transform the space. You might dread the dust and mess that come with sanding. Or perhaps you’re short on time and energy.
Table of content
- Why Paint Kitchen Cabinets Without Sanding?
- Preparing Cabinets for Painting (No Sanding Required)
- 1. Inspect for Lead Paint
- 2. Remove Hardware and Doors
- 3. Clean the Surfaces Thoroughly
- 4. Degloss Instead of Sanding
- 5. Mask and Cover Surrounding Areas
- Step-by-Step Process for Painting Kitchen Cabinets Without Sanding
- 1. Prime the Cabinets
- 2. Apply the First Coat of Paint
- 3. Inspect and Touch Up
- 4. Apply the Second Coat
- 5. Reattach Hardware and Doors
- FAQs
- Is Sanding Ever Necessary?
- Can You Paint Over Laminates Without Sanding?
- Do I Need a Primer If I’m Not Sanding?
- What Kind of Paint Should I Use?
- Can I Do This Myself, or Should I Hire a Professional?
- Helpful Table: Estimating Paint Requirements
- Conclusion
The good news? There’s a reliable process that avoids sanding altogether. By following the right steps and using the correct products, you can revitalize your cabinets with minimal hassle. In this article, you’ll learn:
- Why it is feasible and efficient to paint kitchen cabinets without sanding.
- The preparatory steps that ensure a smooth, paint-ready surface.
- A step-by-step painting method that saves time and money.
Read on to discover everything you need to know to tackle this rewarding DIY project.
Why Paint Kitchen Cabinets Without Sanding?
Many homeowners wonder if it’s truly possible to paint kitchen cabinets without sanding. The short answer is yes—but there are specific conditions and products to consider. Traditionally, sanding scuffs the cabinet surface and helps paint adhere. However, modern deglossers and high-bond primers can achieve similar adhesion without the dust cloud.
Top reasons to skip sanding:
- Time-saving: Sanding all cabinet doors, frames, and drawers can take days, especially if you have a large kitchen.
- Less mess: Sanding generates fine dust that can linger in your home. This can be frustrating if you’re living and cooking in the space during renovations.
- Material-friendly: Some surfaces, like laminate or thermofoil, are difficult to sand. In these cases, a specialized approach is more effective.
While sanding has its benefits, using a high-quality deglosser or bonding primer often provides the same result—without the labor-intensive prep.
Preparing Cabinets for Painting (No Sanding Required)

Preparation is the backbone of painting success. When skipping sanding, each of the following steps becomes more important.
1. Inspect for Lead Paint
If your home was built before 1978, it’s wise to check for lead-based paint. According to the U.S. Environmental Protection Agency (EPA), you should test older surfaces or hire a certified lead inspector. Lead paint must be handled with special precautions. If you detect lead, follow local regulations for removal or encapsulation.
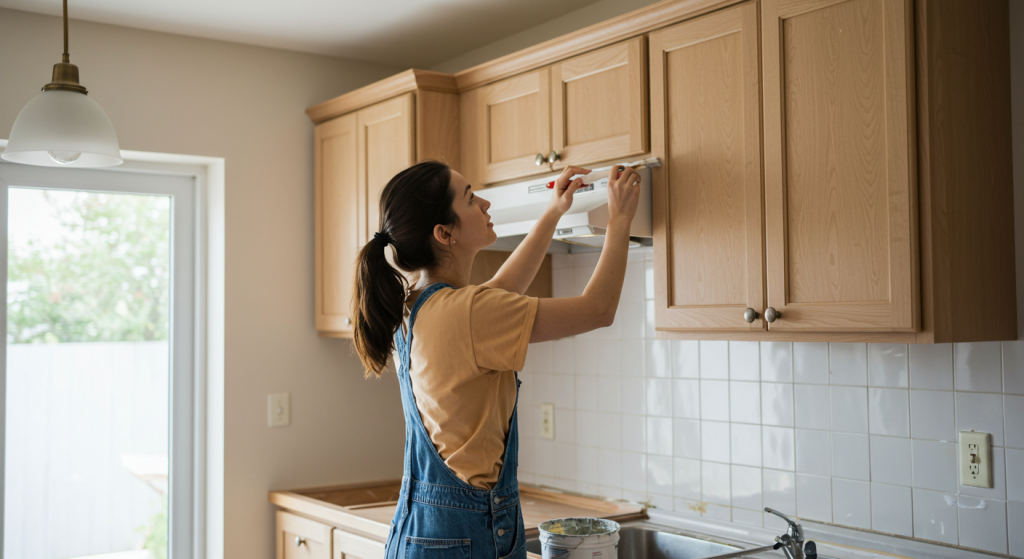
2. Remove Hardware and Doors
Take off all knobs, pulls, hinges, and decorative hardware. Label each piece if needed so you’ll know exactly where it belongs when you reassemble everything. Removing doors and drawers lets you paint the surface evenly and prevents drips.
3. Clean the Surfaces Thoroughly
Even if you don’t sand, thorough cleaning is non-negotiable. Kitchen cabinets accumulate grease, cooking residue, and dirt.
- Use a grease-cutting dish soap or a trisodium phosphate (TSP) cleaner to break down grime.
- Rinse with a damp cloth to remove cleaner residue.
- Let everything dry completely before proceeding.
4. Degloss Instead of Sanding
A liquid deglosser (also called a liquid sander) is the secret weapon for painting kitchen cabinets without sanding. It chemically etches the surface, creating a profile that paint or primer can bond to.
- Apply deglosser with a clean cloth, following the manufacturer’s instructions.
- Wear gloves and ensure good ventilation.
- Wipe off any residue with a lint-free rag.
5. Mask and Cover Surrounding Areas
Cover countertops, floors, and backsplashes with drop cloths or plastic sheets. Use painter’s tape to protect edges and trim. Because you’re not sanding, dust will be minimal, but it’s still best to guard against primer or paint splatter.
Step-by-Step Process for Painting Kitchen Cabinets Without Sanding
With your cabinets prepped and protected, it’s time for the fun part—painting! The following steps detail each stage of the application process. Be sure to read the labels of any primer and paint you choose, and follow those directions carefully.
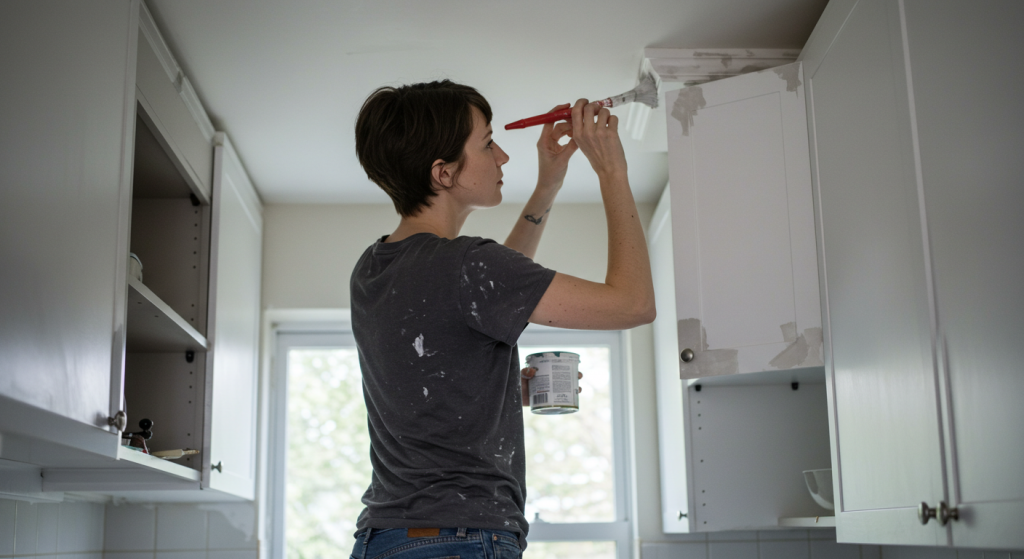
1. Prime the Cabinets
Priming is crucial when avoiding sanding. A bonding primer adheres well to glossy surfaces and prevents paint from chipping or peeling.
- Stir your primer thoroughly.
- Use a brush or small roller for even application.
- Let the primer dry based on the recommended wait time (usually a few hours).
Pro Tip: If you’re painting laminate cabinets, opt for a primer specifically formulated for slick surfaces. This helps ensure your paint stays put for years.
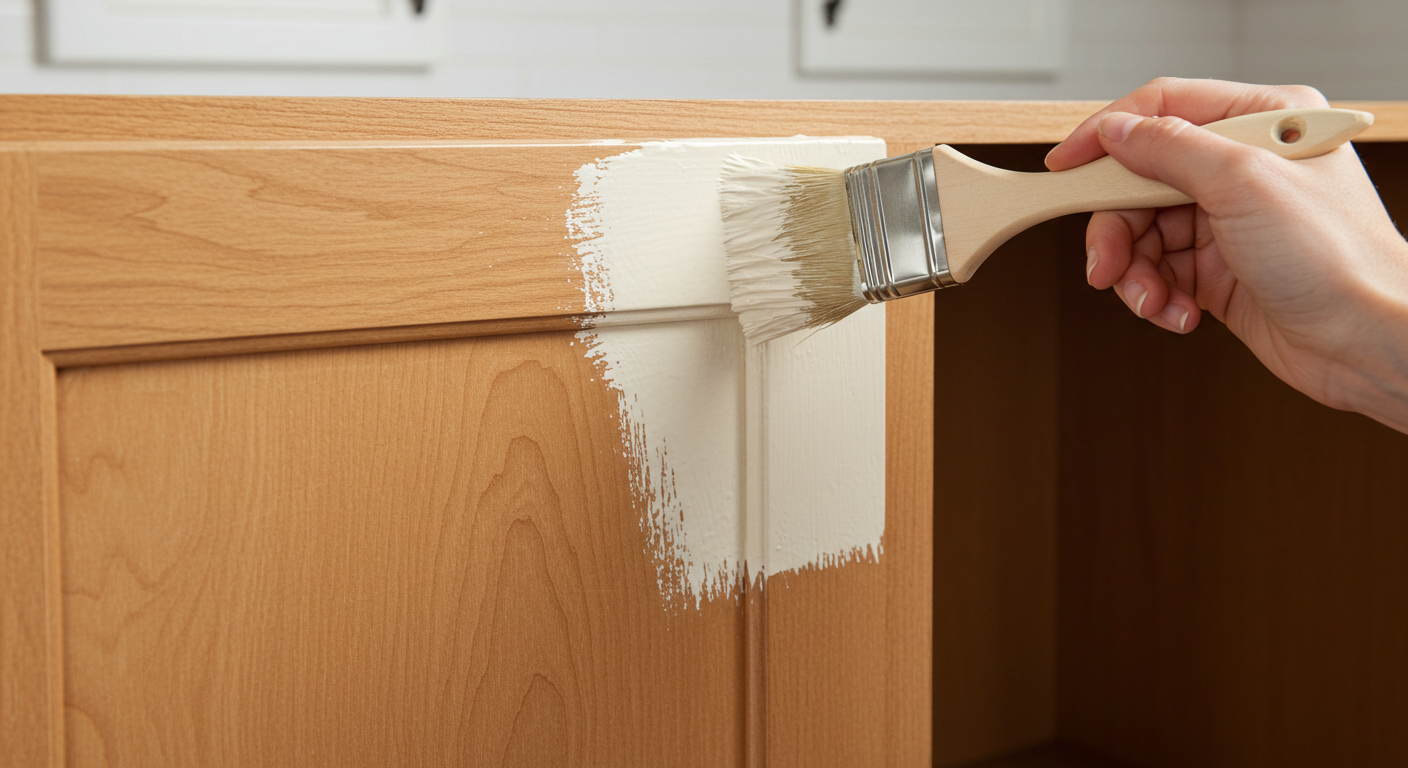
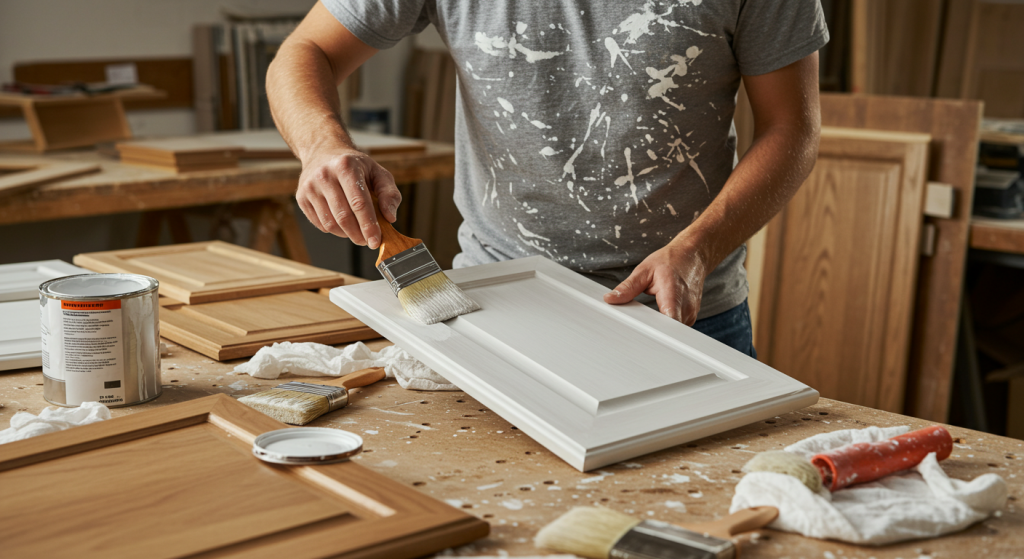
2. Apply the First Coat of Paint
Choose a high-quality paint labeled for cabinets or trim. These are typically semi-gloss or satin finishes that stand up to frequent cleaning.
- Stir your paint gently. Avoid shaking it vigorously, which can introduce bubbles.
- Start with a brush in grooves or detailed areas. Follow up with a small foam roller on flat surfaces for a smooth finish.
- Work in thin, even coats. Aim for coverage without heavy buildup.
Let this first coat dry completely—usually 4 to 6 hours, or overnight.
3. Inspect and Touch Up
After the first coat dries, check for any drips, streaks, or uneven spots. Lightly smooth these areas with a fine-grit sanding sponge if absolutely necessary. This isn’t a full sanding; it’s just a quick touch-up. Wipe away any dust before proceeding.
4. Apply the Second Coat
Apply a second coat of paint using the same technique. The second layer provides full coverage and a more consistent color. If your cabinets are a darker color and you’re painting them white (or vice versa), you may need a third coat. Follow the drying times specified on the paint can.
5. Reattach Hardware and Doors
Once the paint is fully cured (check the label for cure time, which can be several days), reattach doors, drawers, hinges, and knobs.
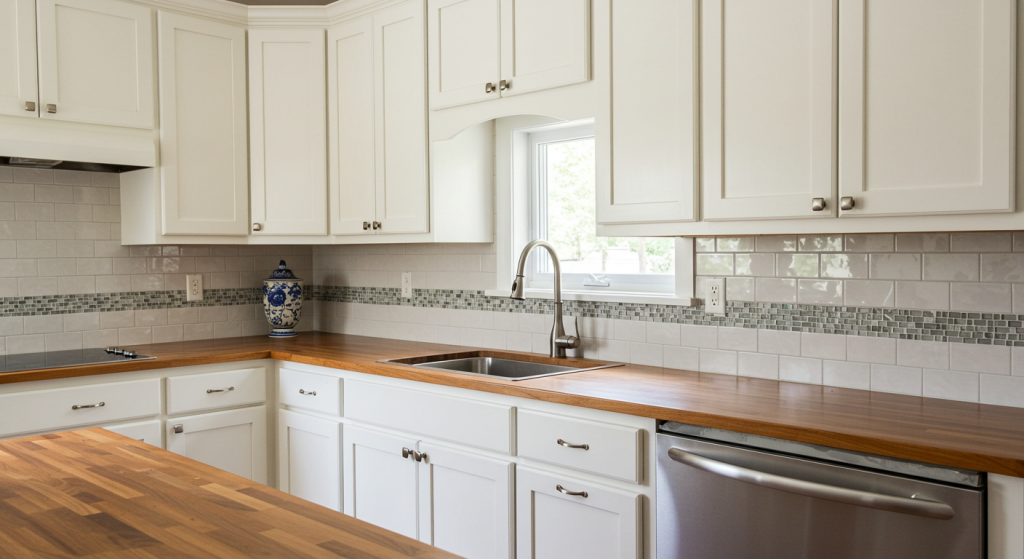
Your newly painted, no-sand cabinets are ready to show off!
FAQs
Is Sanding Ever Necessary?
For most DIYers, deglossing plus a bonding primer is enough. However, if your old paint is chipping or your cabinets have deep scratches, some sanding or patching might be unavoidable. A little spot-sanding in those areas can make all the difference.
Can You Paint Over Laminates Without Sanding?
Yes! In fact, laminate cabinets are prime candidates for a liquid sander and bonding primer approach. Just ensure you clean them well to remove all grease. Laminate is slick, so skipping primer can lead to peeling paint later.
Do I Need a Primer If I’m Not Sanding?
Yes. Primer is your best friend if you’re not sanding. It acts as a bonding agent between the old cabinet surface and new paint, dramatically increasing durability.
What Kind of Paint Should I Use?
A high-quality acrylic latex paint or an enamel-based paint formulated for cabinets is ideal. These options resist moisture and are easier to wipe clean than standard wall paint.
Can I Do This Myself, or Should I Hire a Professional?
Painting kitchen cabinets is a feasible DIY project if you’re patient and detail-oriented. Professionals offer speed and experience but can be expensive. If you’re comfortable taking it slow and carefully following each step, you can absolutely handle this on your own.
Helpful Table: Estimating Paint Requirements
| Cabinet Size | Approx. Surface Area | Coverage per Gallon | Estimated Paint Needed |
|---|---|---|---|
| Small kitchen | 200 sq. ft. | ~350 sq. ft./gallon | ~0.6 gallons |
| Medium kitchen | 350 sq. ft. | ~350 sq. ft./gallon | ~1 gallon |
| Large kitchen | 500 sq. ft. | ~350 sq. ft./gallon | ~1.4 gallons |
Note: These estimates are for one coat. Double or triple the amount depending on how many coats you plan to apply.
Conclusion
Painting kitchen cabinets without sanding is a realistic, time-saving strategy. With proper prep, including cleaning, deglossing, and using a high-bond primer, you’ll achieve a durable, professional-looking finish. This method works on various cabinet materials, from solid wood to laminate.
By following the steps outlined here—and referencing reliable sources like the EPA’s guidelines on lead paint—you’ll stay safe and on track for a stunning kitchen makeover. Now that you understand how to paint kitchen cabinets without sanding, it’s time to gather your supplies and get started. Before you know it, you’ll be enjoying a refreshed, modern kitchen without the headache of traditional sanding.
The responses below are not provided, commissioned, reviewed, approved, or otherwise endorsed by any financial entity or advertiser. It is not the advertiser’s responsibility to ensure all posts and/or questions are answered.